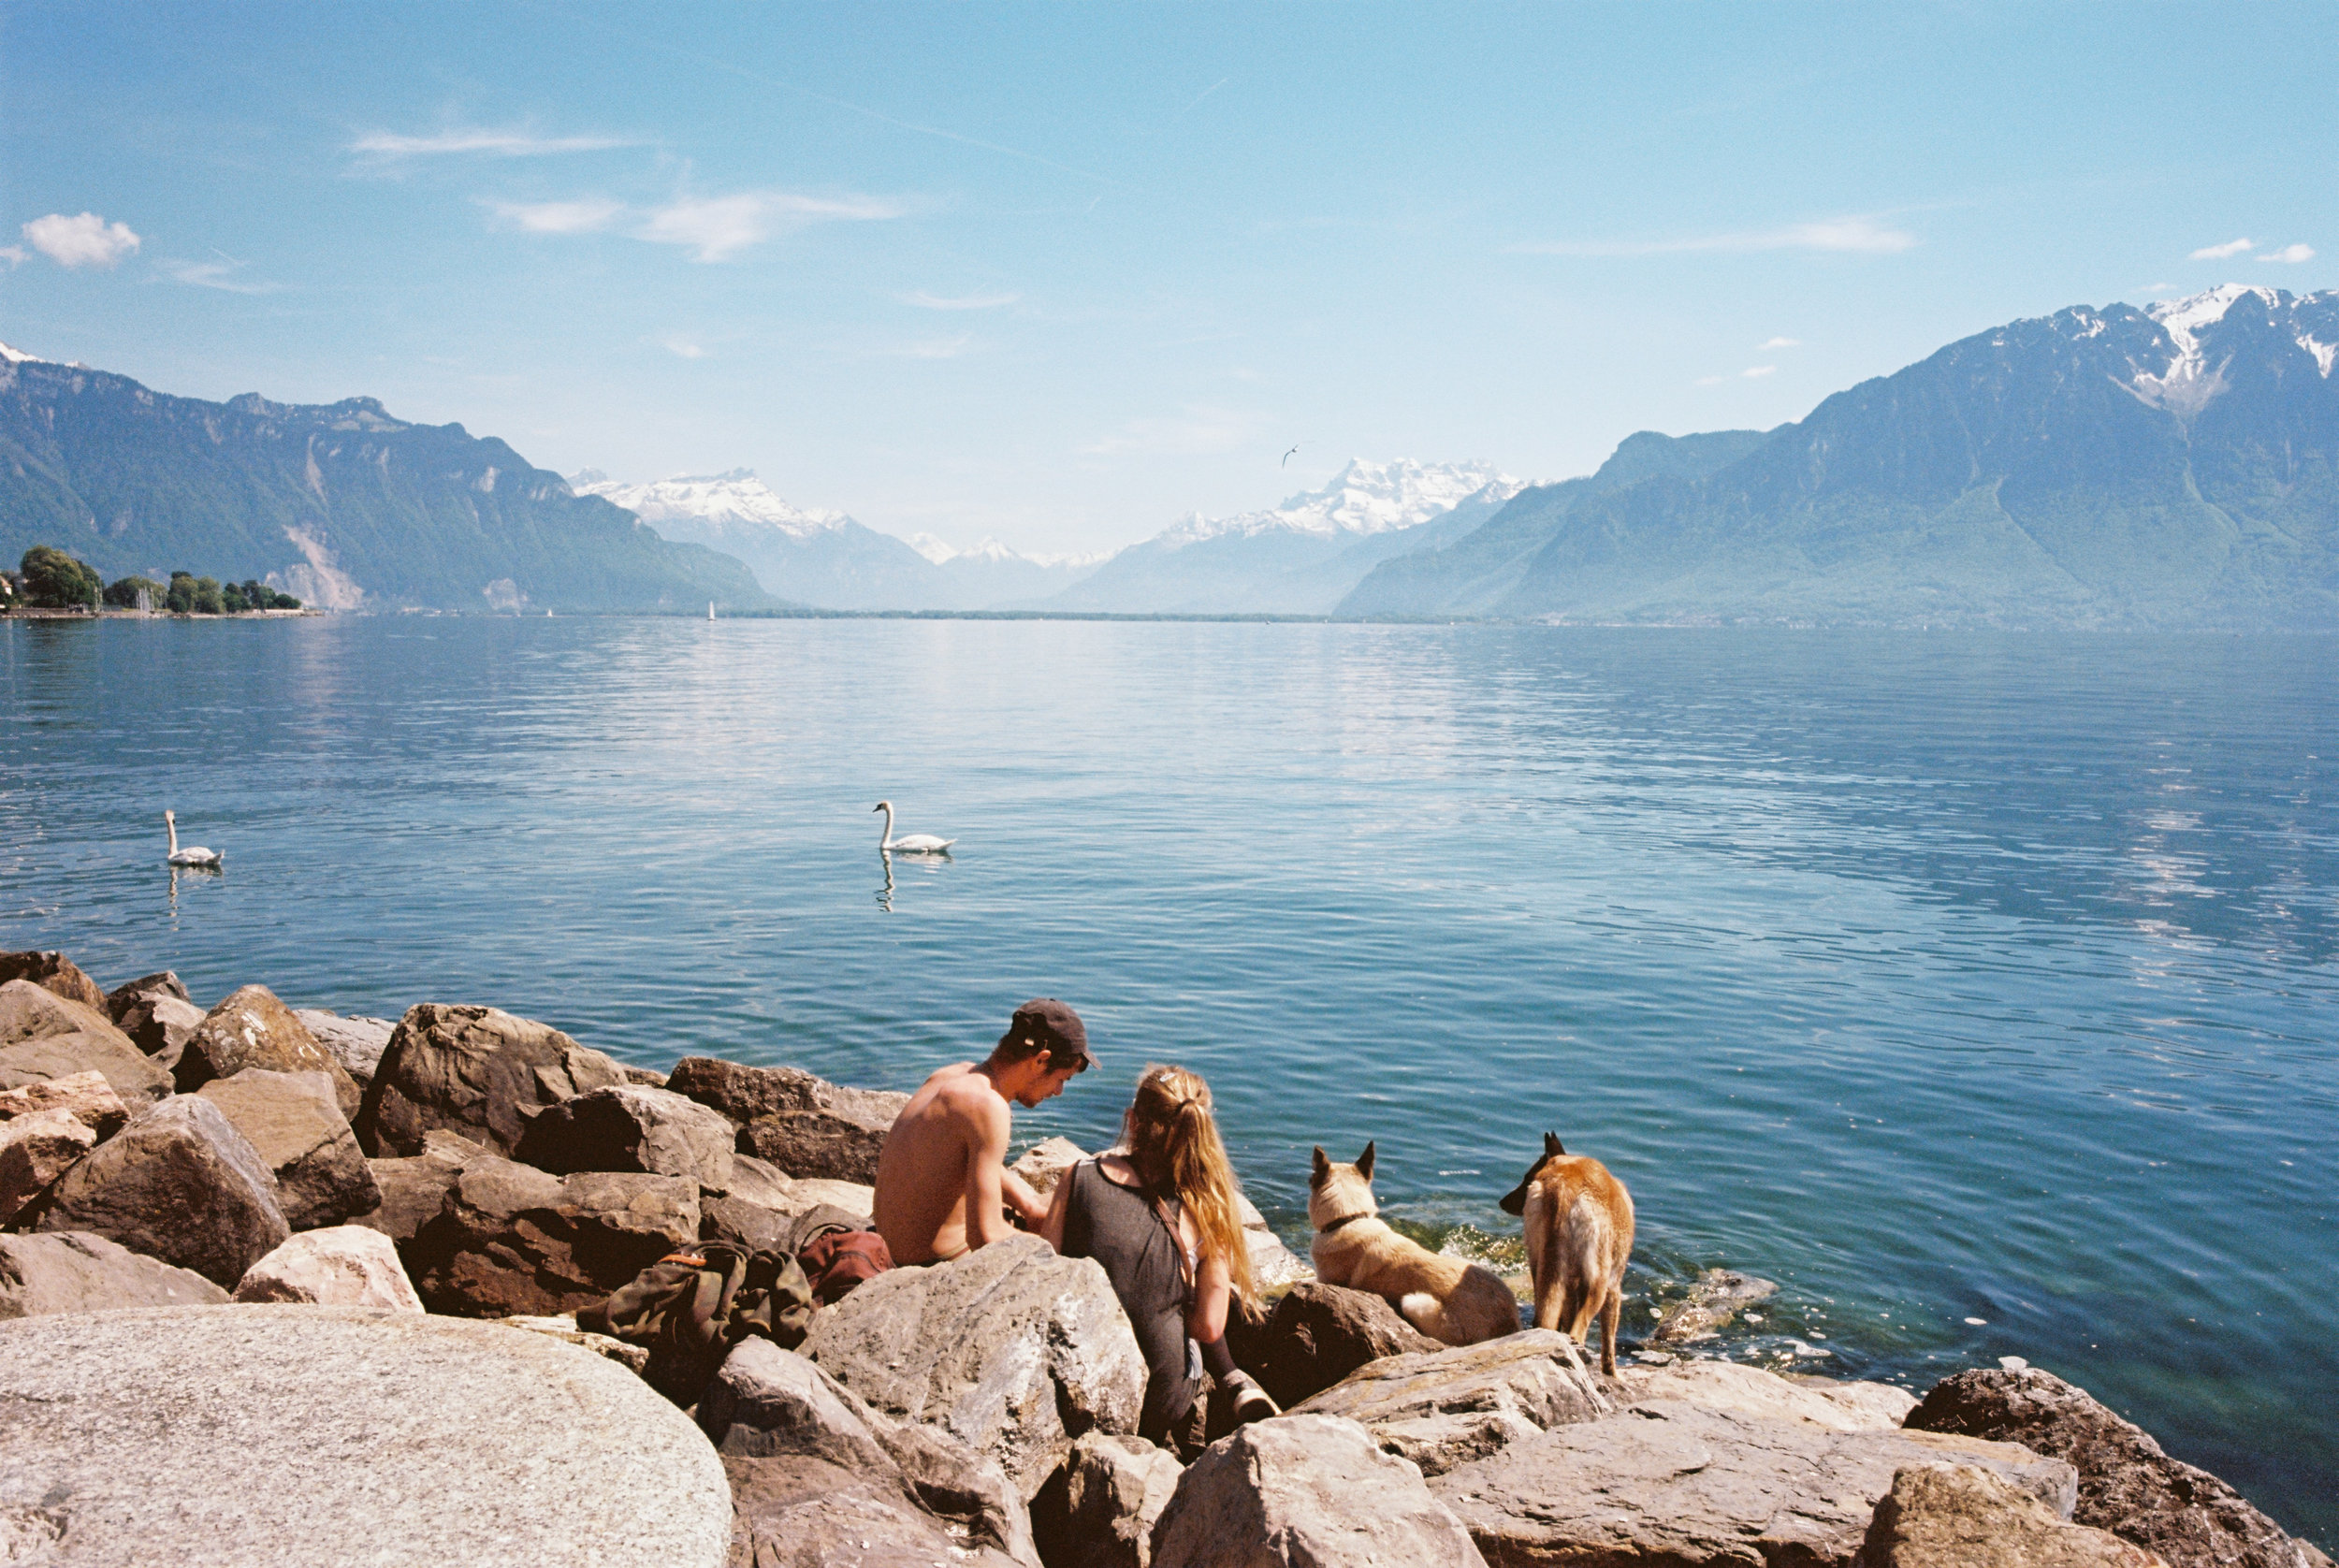
Moving from digital to film photography has always been a daunting task. Having the perks of shooting unlimited frames, having a nice preview after every shot and ability to post process the images in photoshop or lightroom certainly gives photographers a lot of assurance. However, working with a film is the total opposite and many find it risky. Here are some tips to help you elevate your film photography to the next level!
1. Exposure is KEY - When it comes to film, exposure is the most important thing of all. The film colours and details depend greatly on the exposure. You may use the same film, same camera and lens but with different exposure, the colours and details will vary greatly.
Below are 3 examples taken with the same roll of film, Kodak Portra 160 with my Rolleiflex 3.5f. Though it may not be the same exact scene but it does give you a fair indication. The first photo was shot at perfect exposure while the middle shot was overexposed half a stop to give the skin a little more glow. The last shot was shot under (not intentionally, probably too much sake lol ). As you can see the last photos looks faded, desaturated and grainy as compared to the rest of the images. The middle photo has a lot more pop in term of contrast and colours while the first looks more neutral. Play around with the exposure and see which works best for you!
While as for Pro400H colour film, I generally overexpose the film by one-stop minimum for most scenes. If the lighting is rather flat, I would make it 1.5 over to bring out the colours a little more.
2. Expose for the shadows - I think this the most important key factor that most got it wrong when photographers pick up a film camera. Being a photographer started out with digital cameras , we were told countless times to watch for the over blown highlights as most digital cameras have problems dealing with over exposures. We have been told countless times that over blow highlights are bad bad bad in digital. However this is not the case with film. The shadows is what matters when you are shooting film. Film have a much larger dynamic range than digital sensors , approx 16 vs 12 stops on the average hence it's able to handle highlights pretty well. However film will suffer once it is under exposed.
As an example below on the bottom left , I had my wife standing in front of a glacier. On a typical scene like this, the camera exposure will usually under expose the scene thanks to the huge chuck of snow at the background. Knowing that the main subject on this photo would be of course my wife, hence I did a close up metering on her face , walked back and recompose the shot. It turns out perfectly exposed. I would not be able to produce a shot like this if it was shot with a digital camera without doing the HDR function.
As for the shot of the Tibetan monk, I meter the shadow area which he is as passing through to ensure he is not underexposed. As you can see the highlight on the wall and sky is perfectly intact. That's the beauty of film !
3. Use film within the best before date - Always use the film within the film shelf life period for optimum quality. This includes shooting and developing the film within that period of time. I often try to buy the freshest film possible so I would have sufficient storage and usage time. Standard film would have around 1.5 to 2 yrs of shelf life hence check always check the film expiry date just like how you buy a loaf of bread or a fresh carton of milk from the mart. Expired film may look cool sometimes if you are lucky but usually it tend to be more grainy and the colors are highly unpredictable.
4. Don't be over ambitious - Spend time to know your film more before switching to another type of film. Every film has it’s own characteristics in term of colors, details, latitude and preferred exposure method. For example , Kodak Portra works best with 0.3 stop over exposure while Fuji Pro400 H needs a minimum of 1 stop over exposure to give the creamy pastel colors. Kodak Ektar and black and white film works best with perfect exposure . Try out 5 rolls of the same film before switching it out and see which works best for your work.
From left to right Fuji Pro400H - Creamy pastel color with soft highlights , great skin tone | Kodak Ektar 100 - Sharp, punch contrast, low grain and punchy red color. Fuji Superia - High contrast, harsh highlights and accesntuate on green color.
5. Black and white and color film exposes differently - When I shoot with black and white and color film, I think very differently. For colors I usually look for even exposure scene and I expose for the shadows as what I have explained in point 2. However for BW film, I prefer to hunt for subject or scene which has more dramatic lighting , after all it's the shadow and highlights of a photos that makes a black and white film 'black' and 'white' . I never liked a BW film being too flat without shadows. Hence every time I travel , I often carry two cameras one loaded with box speed or pushed black and white film while another loaded with color film so that I could switch between the two depending on the lighing condition.


